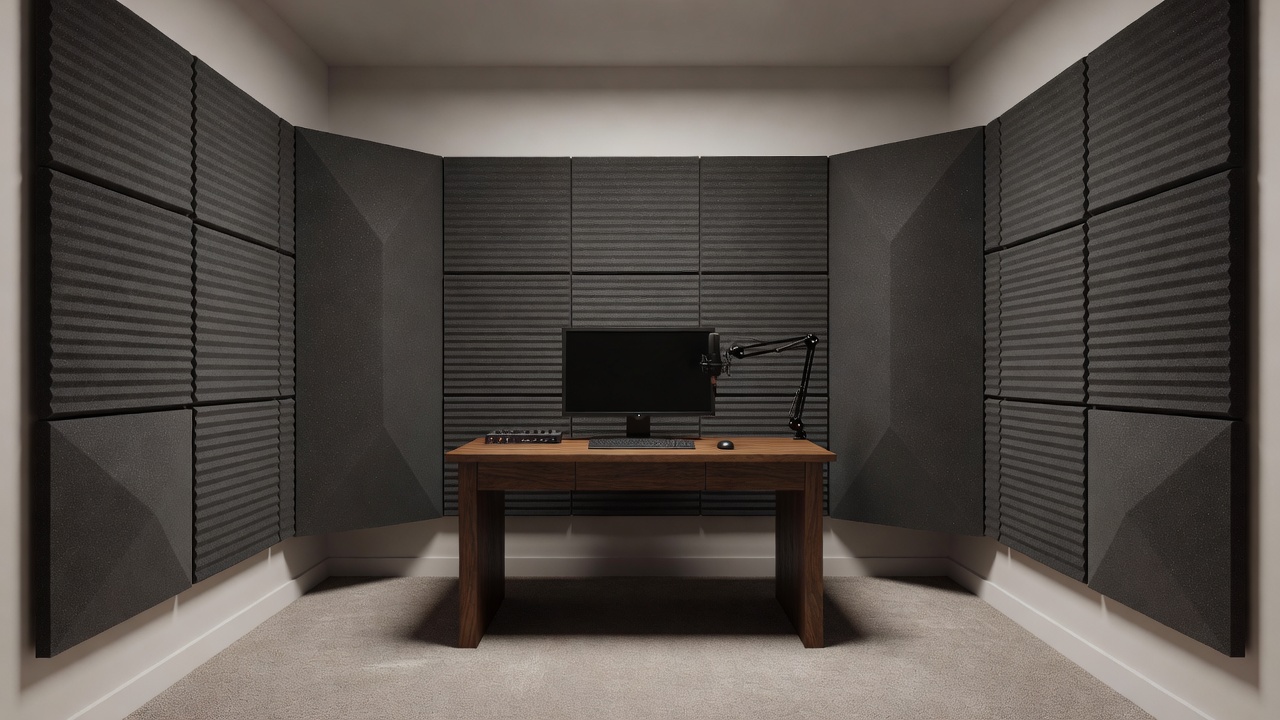
Plan before you move anything
Start with a tape measure and a notepad. Write down the length, width and ceiling height, and mark every door, window, radiator and built-in cupboard. This takes fifteen minutes and saves you from drilling holes for panels in the wrong place. If you share the room with a bed or a wardrobe, that is fine; soft furniture helps a little, and you can plan around it.
- Choose the wall you will faceIn a rectangular room, facing the shorter wall usually gives more distance behind you for bass to develop and decay.
- Centre the desk left to rightEqual distances to both side walls make reflections arrive symmetrically, which keeps your centre image stable.
- Find a starting seat positionMany engineers begin with the listening position at about 38% of the room length from the front wall, then adjust by ear and measurement.
- Keep the area behind the monitors clearShelves full of gear and hard objects between the speakers add early reflections.
- Leave room for a recording spotThe best vocal position is often not the mix position. Plan both before you commit.
Why small rooms misbehave
Every room resonates at frequencies set by its dimensions. These are called room modes. The simplest kind, an axial mode, occurs between two parallel surfaces. Its lowest frequency is the speed of sound (about 343 m/s) divided by twice the distance. A room 3.6 metres long resonates at about 48 Hz, and again at 95 Hz, 143 Hz and so on. Standing at a peak, the bass sounds big; a step away in a null, the same kick drum almost disappears.
That is why mixes from untreated bedrooms often have too much or too little low end. The speakers are telling the truth; the room is rewriting it before it reaches your ears. Rooms where two or three dimensions are equal or simple multiples of each other are worst, because the modes stack on the same frequencies.
The second problem is early reflections. Sound from each monitor bounces off the side walls, desk, and ceiling and arrives at your ears a few milliseconds after the direct sound. Those delayed copies cause comb filtering, which blurs imaging and colours the midrange.
Treatment, in the order that pays off
Treat in this order and stop when the measurements and your ears say it is good enough. Most bedrooms get the bulk of the benefit from the first three steps.
- Side-wall first reflection points. Sit in the mix chair while a friend slides a mirror along the side wall. Wherever you can see a monitor in the mirror, place an absorption panel.
- Ceiling cloud. The same mirror trick on the ceiling locates the overhead reflection. A panel hung flat above the desk handles it.
- Corner bass traps. Low frequencies collect in corners, especially wall-to-wall corners behind and in front of you. Thick, floor-to-ceiling traps make the biggest difference.
- Rear wall. In a short room, absorption or diffusion behind the listening position reduces strong reflections returning to your head.
Rigid mineral wool, such as Owens Corning 703 in North America or rock wool slabs sold across Europe, is the standard material. Panels 100 mm thick, mounted with a 50 to 100 mm air gap, absorb far deeper than thin foam tiles. Wrap them in breathable fabric so the fibres stay put.
| Use case | Priority treatment | Typical quantity |
|---|---|---|
| Mixing beats and electronic music | Corner bass traps, side reflections | 4 traps, 2 side panels, 1 cloud |
| Recording spoken word or podcasts | Panels around and behind the speaker | 3 to 4 panels near the mic |
| Singer-songwriter tracking and mixing | Side reflections, portable panels behind vocalist | 2 side, 1 cloud, 2 movable |
| Rented room, no drilling | Free-standing panels and stuffed bookshelves | 4 to 6 panels on stands |
Measure the result
Ears adapt quickly, so measure. Room EQ Wizard (REW) is free and works with an affordable USB measurement microphone such as the miniDSP UMIK-1. Run a frequency sweep from the listening position before treatment and after each change. You are looking for smaller peaks and dips below 300 Hz and shorter decay times in the waterfall graph.
For deeper reading, F. Alton Everest and Ken Pohlmann's Master Handbook of Acoustics explains modes and absorption clearly, and is worth keeping on the shelf.
What treatment will not do
Acoustic treatment controls how sound behaves inside the room. It does not stop sound leaving or entering. Soundproofing requires mass, airtight seals and decoupled construction, which is a building project. If neighbours or traffic are the issue, record at quieter times, use dynamic microphones and close-mic sources.
Once the listening position is under control, move on to monitor placement, where the work you have just done begins to pay off.